Despite all of the wonder and grandeur that the highlands of Scotland has to behold in the light of day, once the sun sets and the last glimpse of daylight leaves the peaks of the mountains, a whole new level of beauty can be discovered in the heavens above the remote peaks. The night sky in the north of Scotland is some of the clearest and cleanest air in the world when it comes to a lack of light pollution, stunning surrounding scenery, and ease of access. It is for this reason that stargazing should be at absolute top of your list for your next visit to Scotland.
No time to read now? No problem, save a pin to your Pinterest board for later!

How to Photograph the Night Sky (Astrophotography and Northern Lights Photography guide)
Table of Contents
What to Consider when Photographing the Night Sky
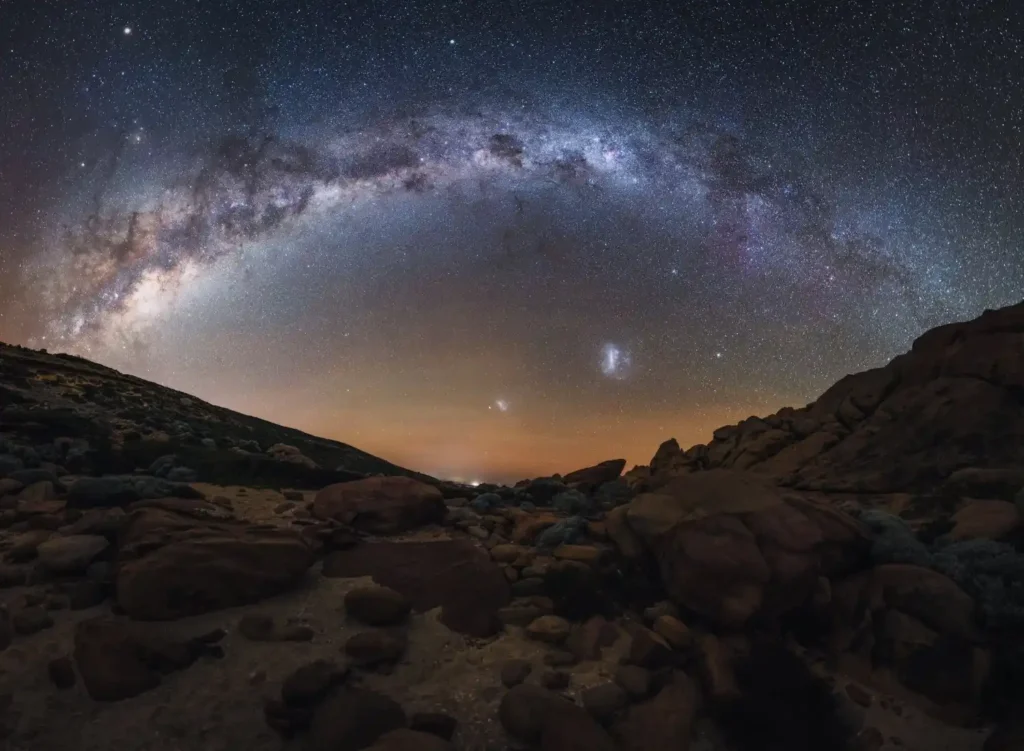
The Milky Way, a celestial spectacle that ignites wonder and awe, can be an elusive sight for many. In order to see this spectacular light show, however, the perfect conditions must align: the location should have minimal light pollution, the weather must provide a clear sky, the moon should not overshadow the faint lights, and solar activity must be at its peak. In this article, we will explore the optimal conditions for capturing the beauty of the Milky Way in the sublime landscapes of the Scottish Highlands.
Season:
The season is the main factor to consider when it comes to stargazing in Scotland, given its northerly location and long summer nights. During the peak of the summer solstice, the sky in the highlands of Scotland barely gets dark as the sun dips below the horizon just enough to reduce the lighting to a constant dusk, before rising again about 4 hours later.
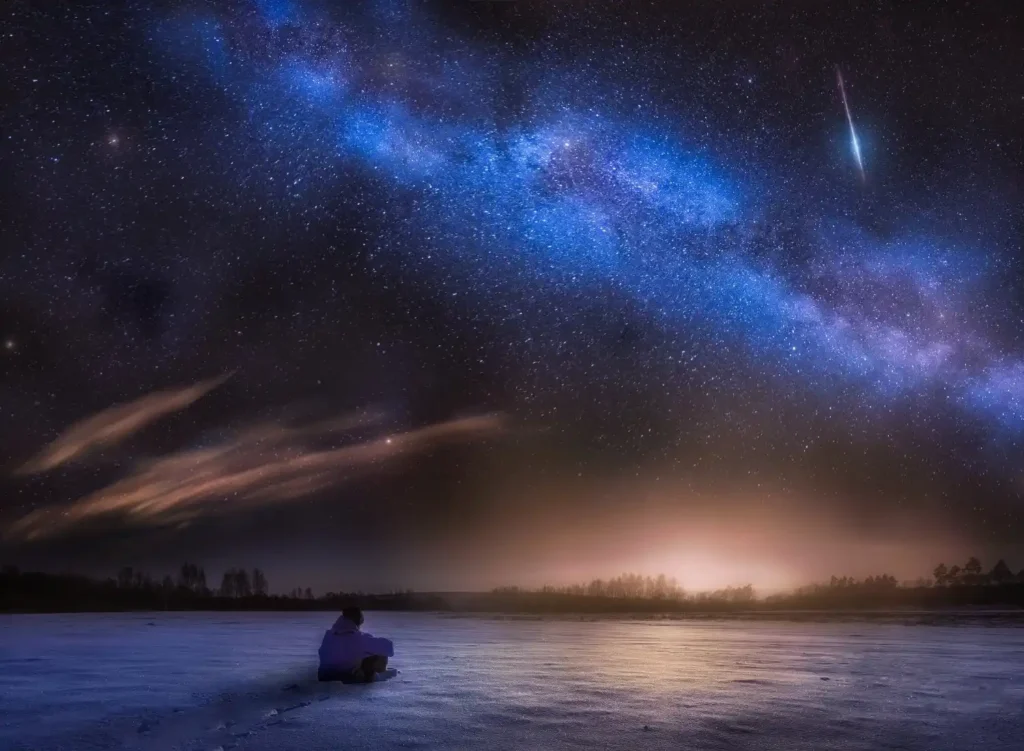
The location of the galactic core (the part of the Milky Way that will give the best stargazing experience) also varies throughout the year. Unfortunately, the core itself only rises above the horizon during the night in the middle of summer in the northern hemisphere, meaning that in the far north where the nights are latest, you will not be able to see it. However, during the Autumn months in the north of Scotland, the core sits just beneath the horizon at the beginning of Black Hour (the darkest period of the night).
We would, therefore, recommend September to November as the best time of year for stargazing if you are looking for Milky Way views and photographs in Scotland.

Location:
Contrary to popular belief, venturing as far north as possible is not always necessary to witness the Milky Way. Loch Lomond, located in a national park with low light pollution, is a perfect southerly point to look for the stars. However, the northern coastline of Aberdeenshire, near Cuilin, emerges as an exceptional spot, providing unobstructed views of the ocean and minimal light pollution. Additionally, the remote villages of Wester Ross in the northwest of Inverness offer a tranquil setting away from urban light pollution.
Weather:
A clear night sky is ideal for observing the Milky Way, though in Scotland, this can be a rare occurrence. The best time of year for guaranteed (well, almost guaranteed) clear skies and dark nights is between October and December, as January onwards tends to see wetter weather.
Moon Coverage:
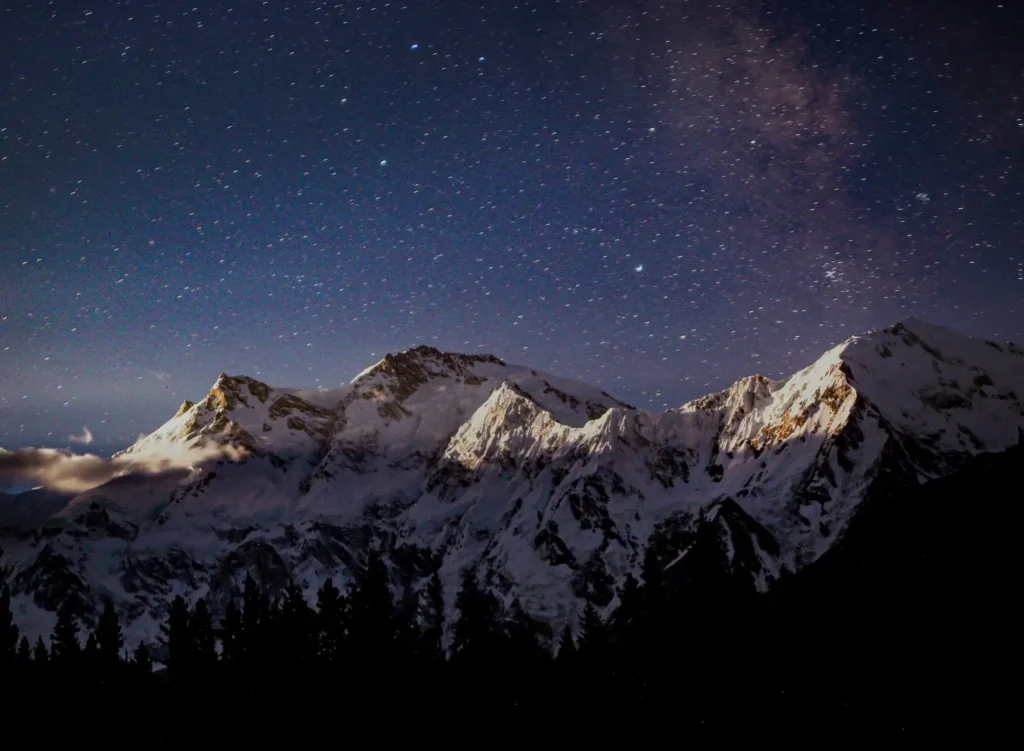
Timing your Milky Way adventure with the moon’s cycle is crucial to avoid moonlight overpowering the faint beauty of the stars. Using the PhotoPills app can help plan your night photography expeditions, providing details on the moon’s cycle, position, and the location of the galactic core and Milky Way, enabling stunning astrophotography shots.
Solar Activity:
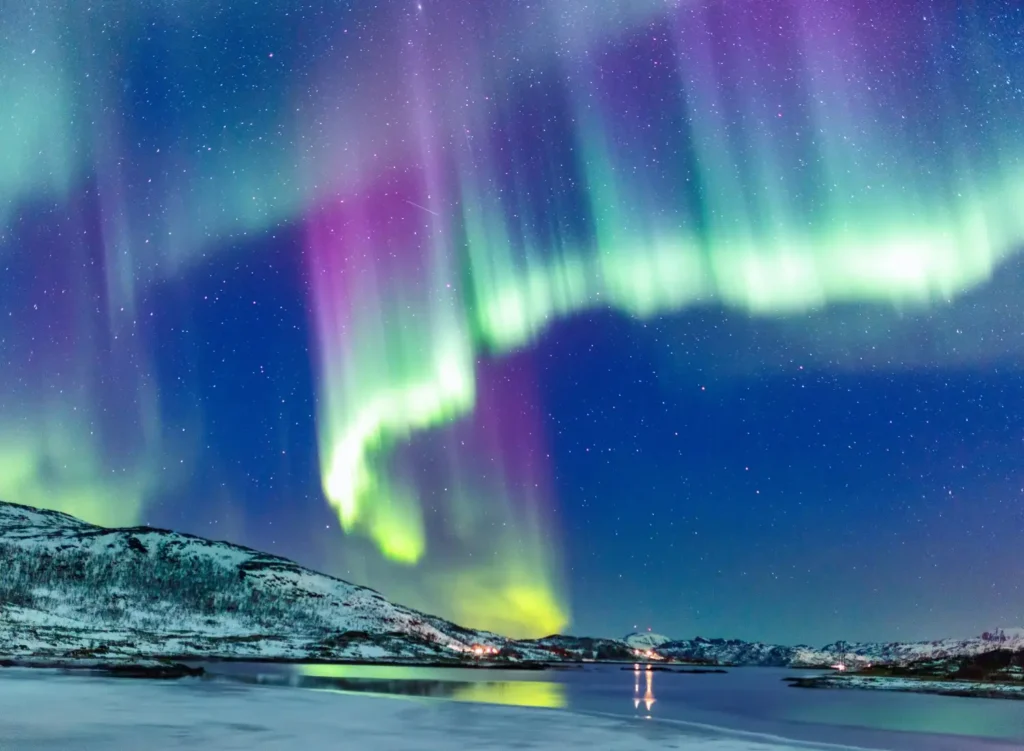
The activity of the sun plays a pivotal role in the visibility of the Aurora Borealis. A strong display requires significant solar flare ejections. While long-term predictions of solar flares are challenging, scientists have improved their ability to forecast flare impacts within the next couple of days. Apps like AuroraWatch and active participation in relevant Facebook groups can provide notifications and expert insights into the perfect cosmic conditions.
Below is a list of our top recommendations of pages and groups to join
– Scotland’s Nightsky (Andrew also has a beautiful book on astrophotography in Scotland – A Guide to Scotland’s Night Sky)
– Aurora Watch UK
How to Prepare for Your Star Gazing Adventure
Before you head out on location, it is important to make sure that you pack and wear the perfect amount of layers and bring the right equipment with you. You can expect it to be a long and cold night staring at the sky and the last thing you want to have to do when in the middle of a spectacular star show is head home as you are too cold. You also do not want to miss capturing the memories of the aurora, which is why the perfect photography gear is also a must-have accessory. You never see it again so make sure to take a lot of photos.
What to Wear for the Stargazing in Scotland
When it comes to dressing for any stargazing mission, the key word is layers. As with hiking, we always wear and pack as many layers as we can when we head out to see the stars as this means you can adjust your coverage as you see fit. Below is a list of the clothes that we typically wear when we are out at night in Scotland.
– Baselayer (thermal long-sleeve top)
– T-shirt (long or short sleeve)
– Jumper with hood
– Heavy waterproof jacket
– Thermal leggings
– Trousers
– Thin socks
– Thick socks
– Hiking boots (to shield your feet from the cold earth)
– Scarf
– Hat
– Gloves
We also pack some essential items to ensure that we can keep warm and insular ourselves from the cold wind
– Waterproof blanket to sit on
– Cosy blanket to cover our knees
– Camping chair to get comfortable
– Reusable hand warmers
– Flask with hot drink (juice or hot chocolate)
– Head torch with red light capability (to protect your night vision)

Planning Your Trip
We use the below booking platforms to plan our trips. We hope you find them useful too!
Photography Equipment for the Astrophotography in Scotland
Due to the rarity of the a clear night in Scotland, we would recommend investing in some camera gear to capture the memories that you will create when chasing the Milky Way. This does not need to be a hugely expensive setup, as there are even some mobile phone cameras that are capable of capturing the show. Below is the base level of camera specifications that we would recommend for capturing this low light spectacle.
– Camera with ISO of >6400
– Manual focus capability
– Exchangeable lens with the below specs
– Aperture <3.5
– Zoom <35mm
– Manual focus capability
We also recommend investing in the below equipment to facilitate your photography session
– Sturdy camera stand that can withstand a gentle breeze (can be a phone stand if your phone shoots low light)
– Remote camera shutter (if the camera doesn’t have an interval shooting function)
Photography Equipment
Main Photography Camera – Sony A7v Mirrorless Camera and Sony A7iii Mirrorless Camera
Microphone – Sony Mic ECM-B1M
Main Lens – Tamron 17-28mm f/2.8
Zoom Lens – Tamron 70-180mm f/2.8
Camera Tripod – ZOMEI Z669C Camera Tripod
Gorilla Pod – JOBY JB01507-BWW GorillaPod
Action Camera – GoPro Hero 11 and Insta 360 One RS
Drone Camera – DJI Mavic Pro 3
Camera Bag – Wandrd PRVKE 41L and The Nest by Tropicfeel
Phone Tripod – Manfrotto MKPIXICLAMP-BK, Mini Tripod with Universal Smartphone Clamp
Sturdy Phone Tripod & Selfie Stick – ATUMTEK 61″ Selfie Stick Tripod, Sturdy Phone Tripod Stand with Wireless Remote
Hard Drives – LaCie Rugged Mini, 5TB, 2.5″, Portable External Hard Drive
SSD – SanDisk Extreme Pro 1TB Portable NVMe SSD
Travel Adapter –Worldwide Travel Adapter Universal Travel Plug with 4 USB Ports+Universal AC Socke
How to Photograph the Stars in Scotland
Now that you are all packed up for your nighttime adventure, it is time to discuss how to shoot the Milky Way with your camera gear. We absolutely love astrophotography and find it (on a calm and cosy night) to be such a meditative exercise. Just yourself and the stars out on the hills at night, it can be a relaxing and humbling experience to sit and watch the stars move across the sky.
It is for this reason that night photography is one of my favourite activities and when the weather gods bless us up in Scotland there is nothing I love more than heading off on an astro mission. Here is my step by step that I use when planning to shoot the stars or the northern lights, including how to know where to point the camera, how to focus the camera, what settings I use, and then how I dit the photos.
Our step by step process is as follows
1. Use the PhotoPills app to check which direction the Milky Way is and point the camera in the general direction of this.
2. Set up the camera on the stand and ensure that it is sturdy
3. Set the ISO to as high as it will go to perform the test shot
4. Set the aperture to as low as possible (<3.5) and the focal length as low as possible (<35mm)
5. Manually focus the lens and use a distant source of light (sometimes a bright star will do) to ensure the stars are in focus
6. Take a test photo at a shutter speed of 1s. The high ISO will allow for a bright image of the stars and will allow for you to adjust the composition of the picture.
7. Make any adjustments to the composition you need to ensure the photo is framed the way you would like it.
8. Reduce the ISO to <6400 (unless you are stacking your pictures and quality is not an issue)
9. Increase time to 20 seconds (any more and the stars will begin to move across the sky causing trails)
10. Set the camera to a timed capture of 5s and press the shutter button.
11. Review the resulting photo and adjust the settings as required
12. Editing the photo can be easily done using Lightroom and adjusting the colour balance, exposure and grain
Tips for shooting a night lapse video
– Follow all of the above instructions with an ISO of 6400
– Set up the interval shooting to a delay of 5s, interval of 25 seconds, and number of pictures of 120
– Avoid shining lights around or in front of your for the duration of the Timelapse as this will ruin the video
Safety Tips for Astrophotography
As this is a night time activity in the dangerous highlands of Scotland, it goes without saying that extreme care and preparation much be taken before heading out on any night mission. Below are some tips for staying safe when you are out and about in Scotland at night.
Let friends or family know where you are going and DON’T change those plans
It is so important when taking part in ANY outdoor activity in Scotland that people know where to look for you in case you don’t come home. The highlands of Scotland are a huge (and very dangerous place) and no amount of preparation can absolutely guarantee a safe return to your bed for the night. The simple act of a twisted ankle in the darkness of the mountains can render you helpless and without phone reception, you are going to be stuck there until daylight comes and someone comes to find you.
Always pack for a night on the hill (or in your car if you aren’t venturing more than 200m from it)
Leading on from the above, if something does happen to you, you need to be prepared for a night withstanding the harsh Scottish elements. This means packing as if you are going camping for the night if you plan to walk more than 200m from your car. If you are not going that far then the same packing should be done for a night of car camping in case you break your leg and cannot drive. We recommend packing at LEAST the below items to ensure a safe and warm night in the wilderness.
– Sleeping bag
– Emergency bag (a waterproof bag that can fit your whole body inside it)
– Map and compass
– Emergency rations (high calorie snacks, ie. chocolate)
– Hot drink in a flask (or better yet a camping stove, pot, and gas)
– Water to drink
– First aid kit and emergency whistle
Scout your photography location in the day time first
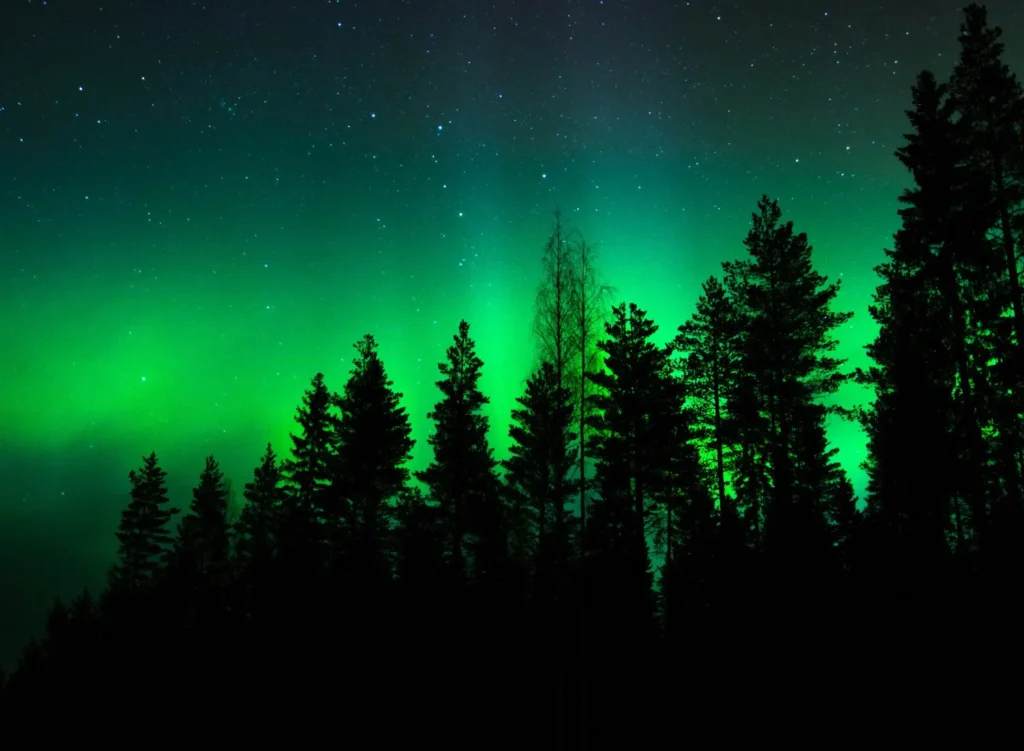
This is another one that often gets overlooked – you need to know the terrain before you go stomping around at night. Given that some of the best places to see the aurora are by the sea, cliffs are a real danger for night time adventures. Know the layout of the terrain and plan where you will set up whilst it is bright and then head back out in the darkness. Again, the mobile app “PhotoPill” allows you to plan where and when the stars, moon, sunrise, and sunset will be using augmented reality on your phone camera, which means you will know EXACTLY where to point your camera come nightfall.
Night Photography Terms and Phrases
Black Hour: Period during nighttime photography when the sky is significantly darker than usual, revealing more stars and celestial objects.
Blue Hour: Short period of twilight before sunrise or after sunset, producing soft, diffused light for serene and magical images.
Golden Hour: Period just after sunrise or before sunset when the sun is low in the sky, casting warm and golden light to enhance colors and textures.
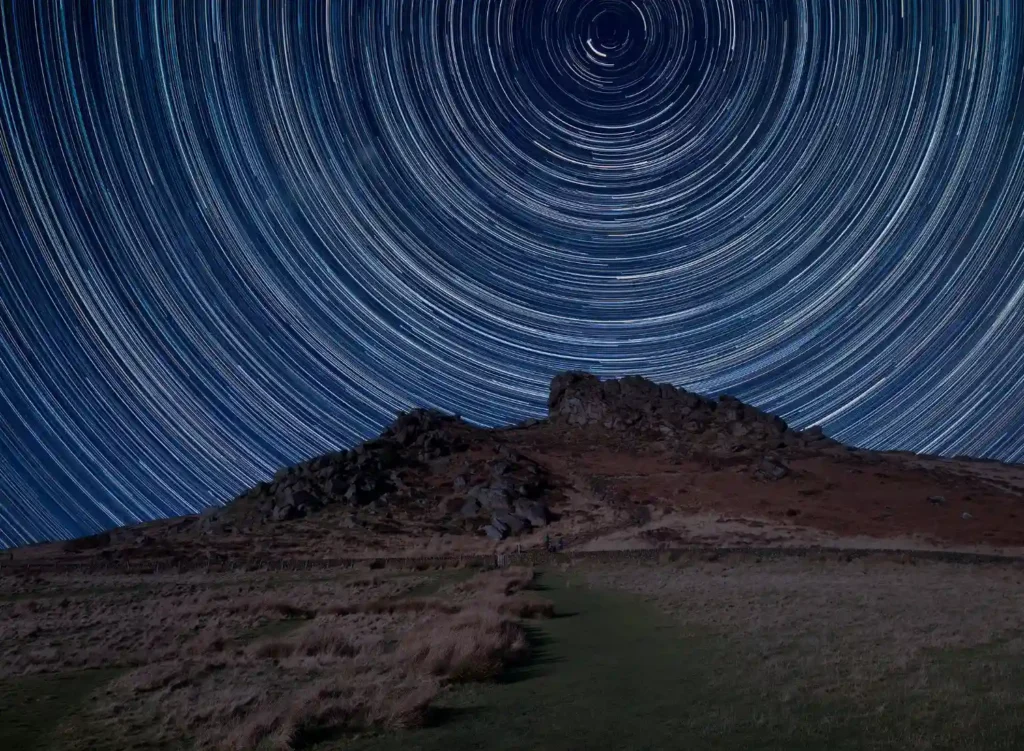
Star Trails: Long exposure photographs capturing the movement of stars across the night sky in a circular or curved pattern, creating mesmerising images.
Circumpolar Stars: Stars that remain perpetually above the horizon, rotating around the celestial pole.
Galactic Core: The densest and brightest region of our Milky Way galaxy, often photographed for a stunning display of countless stars creating a luminous tapestry in astrophotography.
Light Pollution: Excessive artificial lighting that hinders stargazing and astrophotography.
Deep Sky Objects: Celestial objects beyond our solar system, such as galaxies, nebulae, and star clusters.
Wide-angle Lens: Camera lens with a wide field of view, capturing expansive landscapes and the night sky.
Meteor Shower: Event where Earth passes through a debris trail, resulting in an increased number of shooting stars.
Planetary Alignment: Occurrence when multiple planets appear close together in the sky.
Dark Frame: Calibration image capturing camera sensor noise and hot pixels for noise reduction in post-processing.
Time-lapse Photography: Capturing a series of images at regular intervals to create a video sequence, showcasing changes over time.
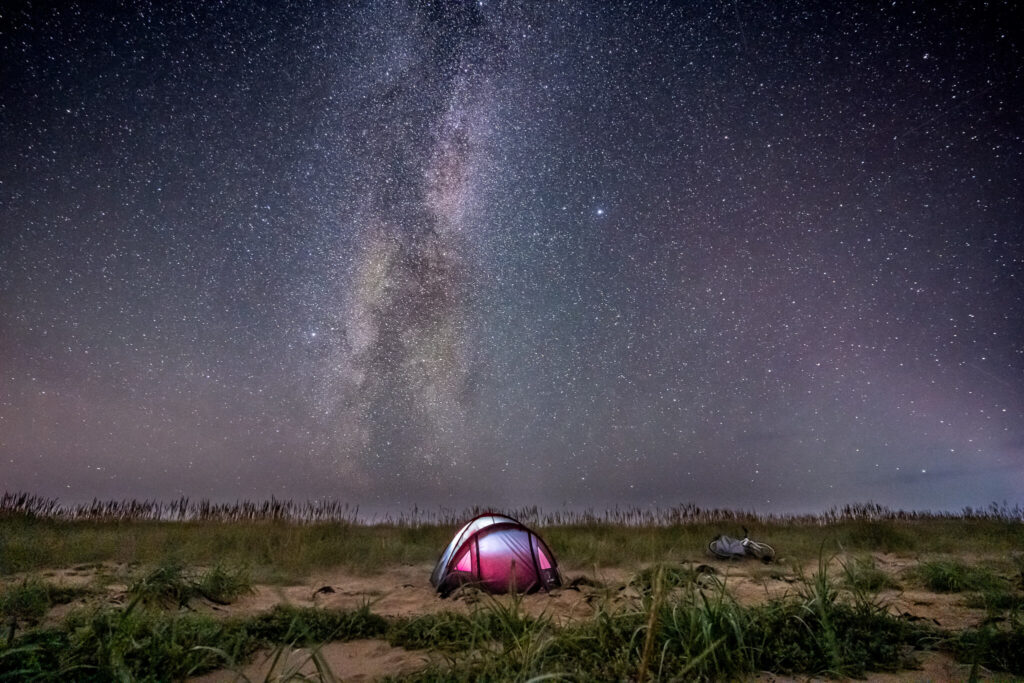
With all of this in mind, it turns out that 2024 is set to be the best year of the decade for solar activity so make the most of it in your trip to Scotland. Schedule in a night out on the hills and make the most of the peace and tranquility of the highlands for a night that you will never forget.
If you found this article useful then make sure to share it with your friends and family to help them plan their own adventure of a lifetime.
Pin it for later!
